From Vision to Reality: Our Journey to Building a Backyard Art Studio

How a Visit to a Friend’s Studio Sparked the Dream of Sarah’s Backyard Art Space
It all started when Sarah and I visited the home of a friend and fellow artist, Jay Costanza. He is a talented painter, and when he’s not creating Plein Air, he’s often at the studio in his backyard. It’s a sweet, cozy little place whose sole purpose is Jay’s getaway painting spot. We were inspired, and the wheels started turning!
Choosing the Perfect Studio Spot: How Nature and ‘The Jungle’ Inspired Our Backyard Art Space
Sarah spent time contemplating ideas for a studio. Nature influences her art, and our home is in the country, surrounded by inspiration! Once we decided to proceed with this adventure, she chose a location near the jungle. The ‘jungle’ is the name given when our kids were little, to a long swath of tall grass between our lawn and the woods. It’s colored through the year with phlox, bee balm, black-eyed susans, and other flowering plants. Bluebirds have made a comeback here and can often be seen along with goldfinches, red-winged blackbirds, bluejays, and cardinals. The jungle is home to several species of bees and when bee balm is in blossom, bumblebees are there in droves.

We made a wood template and moved it around until we were satisfied with the placement and angle. Note the “jungle” and paths behind the studio.
Designing Our Backyard Studio: Repurposed Materials and a Door with History


Building the studio finally reached the top of my to-do list after work on the outside of our house was completed. I designed the studio using some materials left over from renovations.
I planned for three large windows removed from the house to form much of the back wall. I wanted Sarah to have a view of the jungle and into the woods. Three more windows would be built into the sunny south wall of the studio. These will offer a view of the bluebird houses and yard while Sarah creates at her workbench. I located a fourth window in the front wall to let sunlight in from midday until sunset. We hoped enough wood clapboard was left over to side the 12 by 14-foot studio.
By a stroke of luck, during the past summer, I became the owner of a wooden door, which is part of our local Clinton, New York history. It will become the entrance to the studio. I’ll be writing more about this storied door in my next blog.
Laying the Foundation: Preparing Concrete Piers for the Backyard Studio
After Sarah decided on the final location of her studio, I laid out the twelve concrete piers the building and porch would set on. These would go down four feet to ensure that frost heaving doesn’t move the building around when the ground freezes in the winter. This is particularly important since there are so many large windows that could stop opening if the building flexed.
Rocky Obstacles

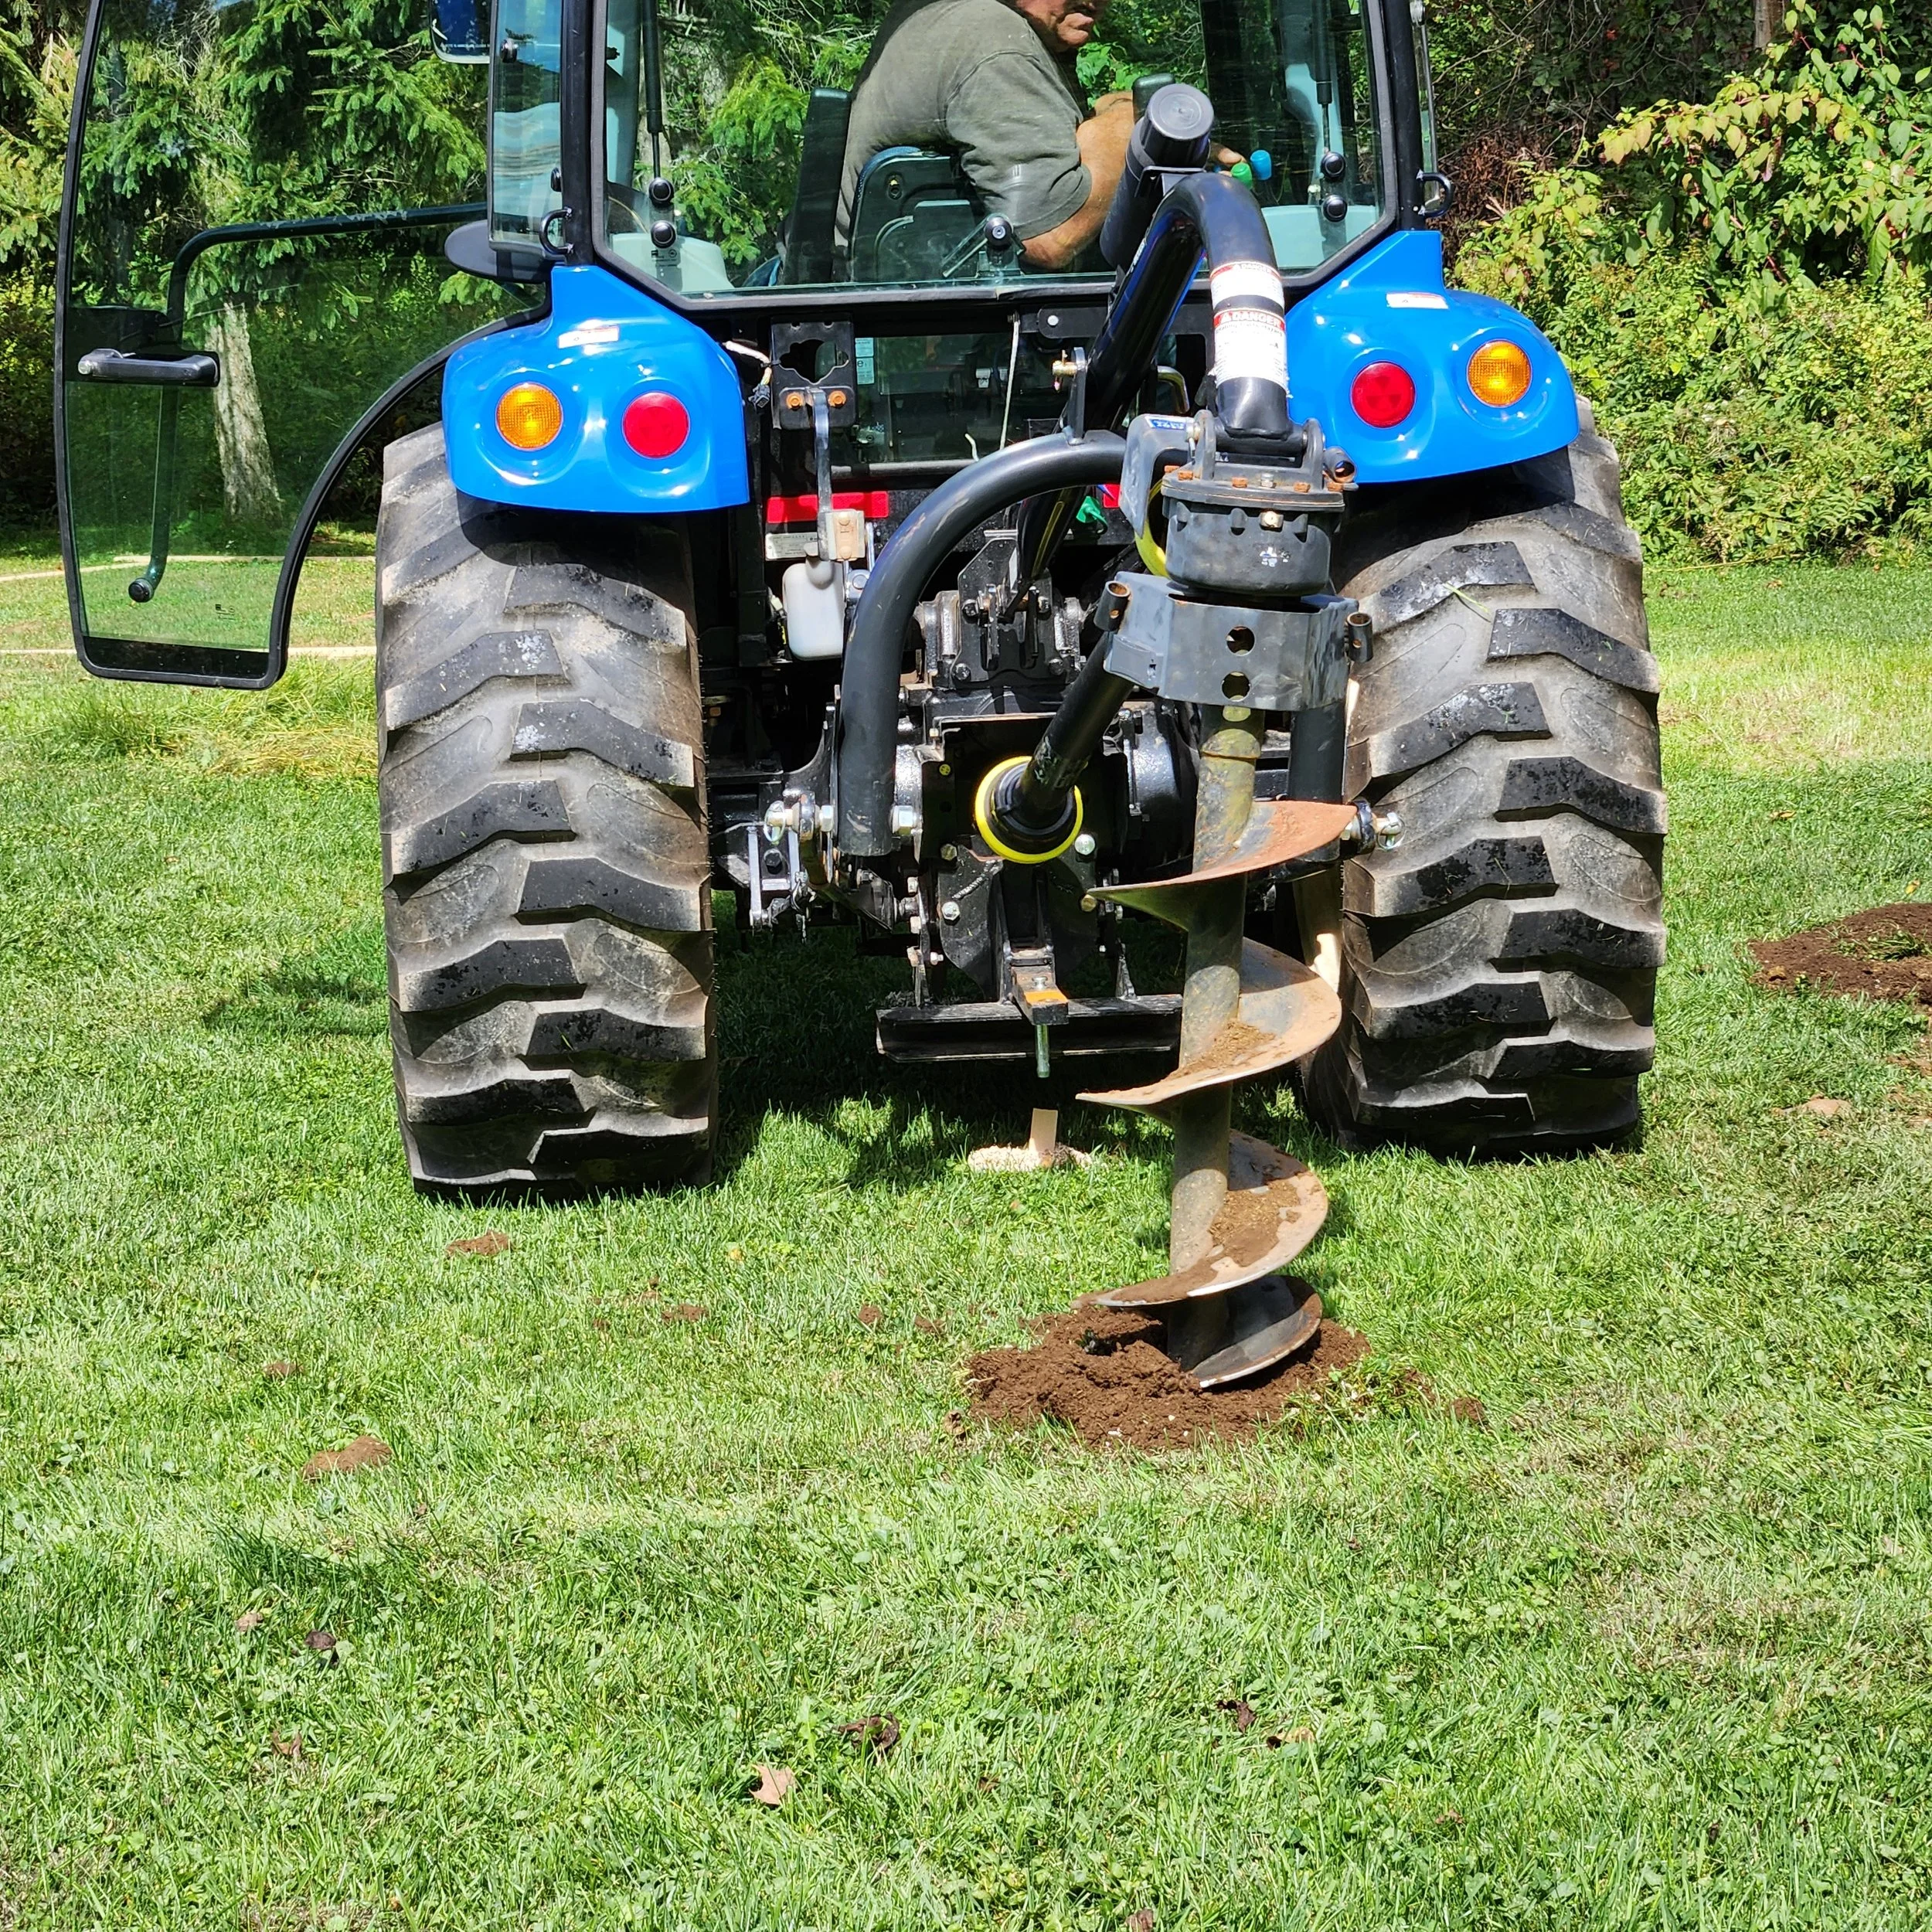

A friend, Joe, came to help me drill holes for the piers with his tractor and auger. That should have been quick and easy. The auger landed directly on top of a large rock when the first hole was a foot deep. It was big enough that this hole needed to be finished by digging by hand. OK, no problem. On the second hole, as the drill bored down, it caught more good-sized rocks, making the ground convulse until the auger stuck and the bolt fastening it to the tractor snapped. Now, the drill was stuck three feet on the ground, and we need to repair it. An hour and a half later, we were ready to try the third hole. You guessed it, the ground shook when the drill hit rocks again. This time, Joe stopped drilling right away. Only two or three holes reached their full depth. Ten thousand years ago, the mile-thick glaciers covering this area pranked us by leaving all these rocks in their wake.


My son-in-law, Steven, and I finished digging the holes to depth by hand. Some holes were oversized because we needed to dig out the large rocks. One hole had to be relocated to work around a rock so big we never found its edges.
Steven and I mixed up thirty-six bags of concrete, totaling 2,900 pounds and poured the piers.
Using Stone and Fabric to Protect the Studio’s Foundation

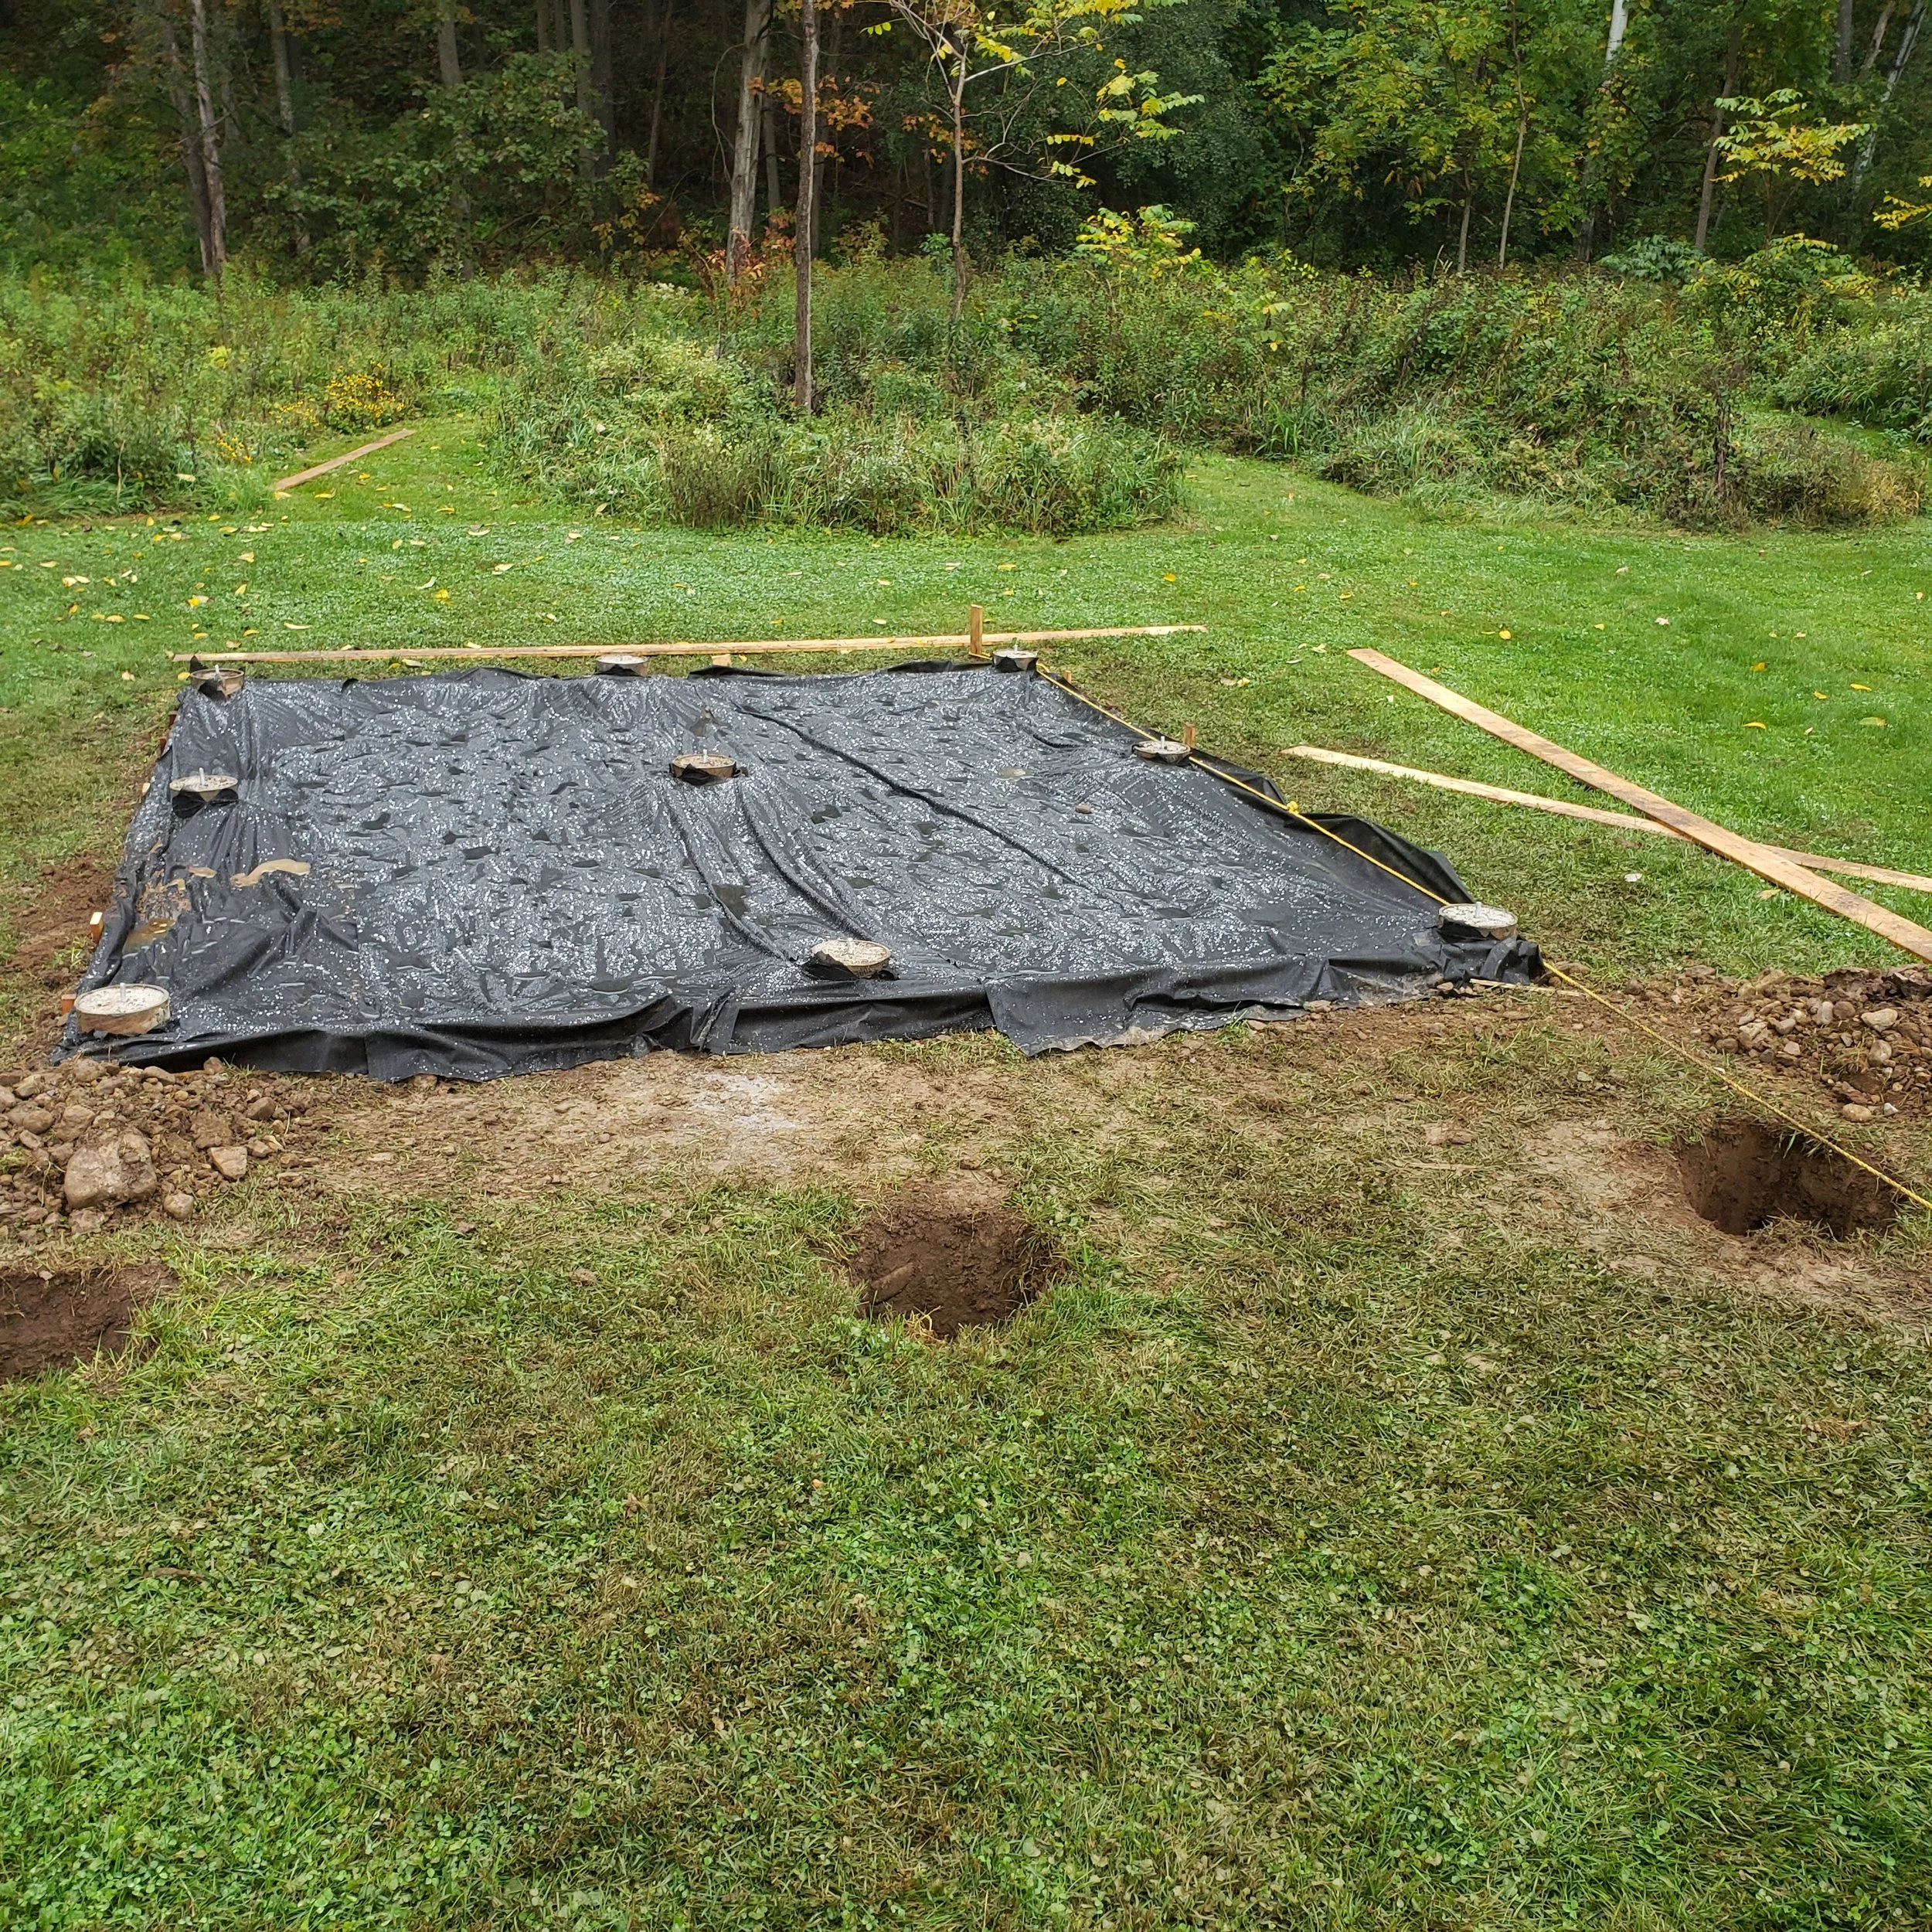
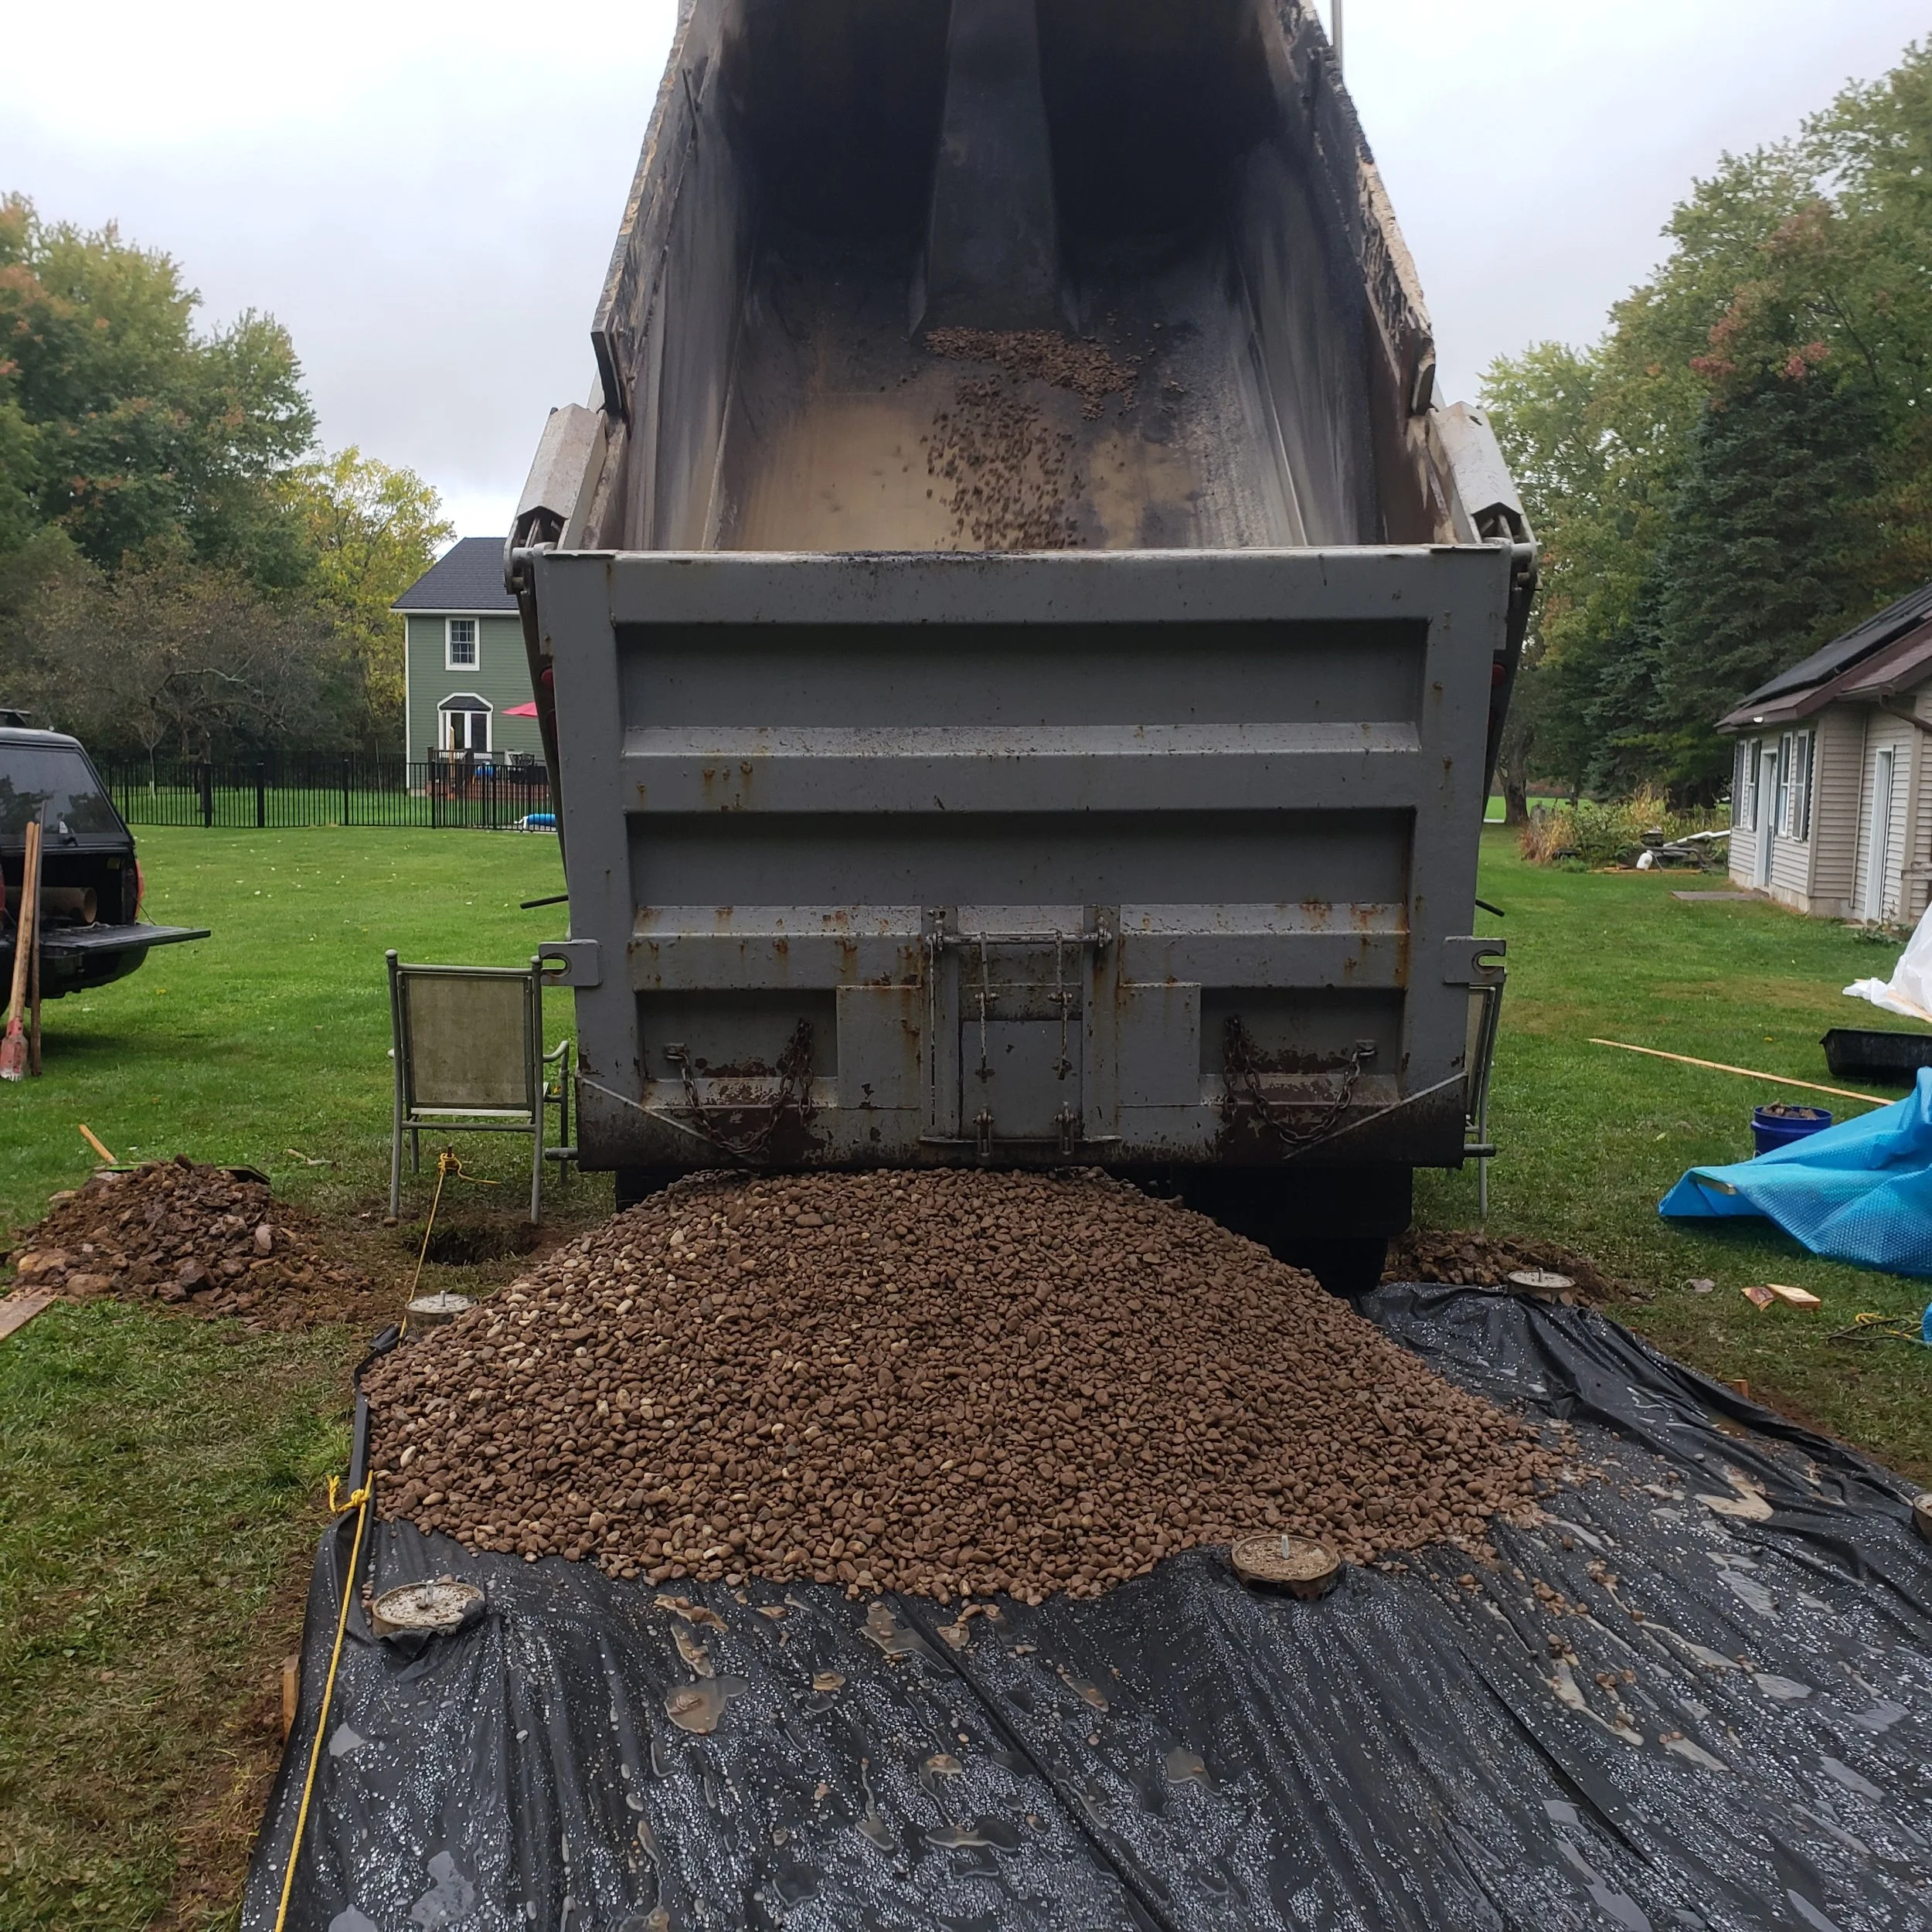
When the piers were set, I rolled out landscape fabric and covered it with two and a half tons of stone. Hopefully, this will discourage our skunk and woodchuck friends from digging dens under the studio and prevent plants from growing there.
Why We Chose Concrete Piers Over a Slab for the Studio Foundation
Using piers on a building like this is unconventional. I decided to do it this way rather than on a concrete slab for several reasons. I wanted to elevate the floor since snow can drift pretty deep in this location. Being sixteen inches above the ground gives a better view of the outdoors as you look out the windows. I find an insulated wood floor to feel warmer than a concrete floor.
Framing, Roofing, and Windows: Building Progress on Our Backyard Art Studio
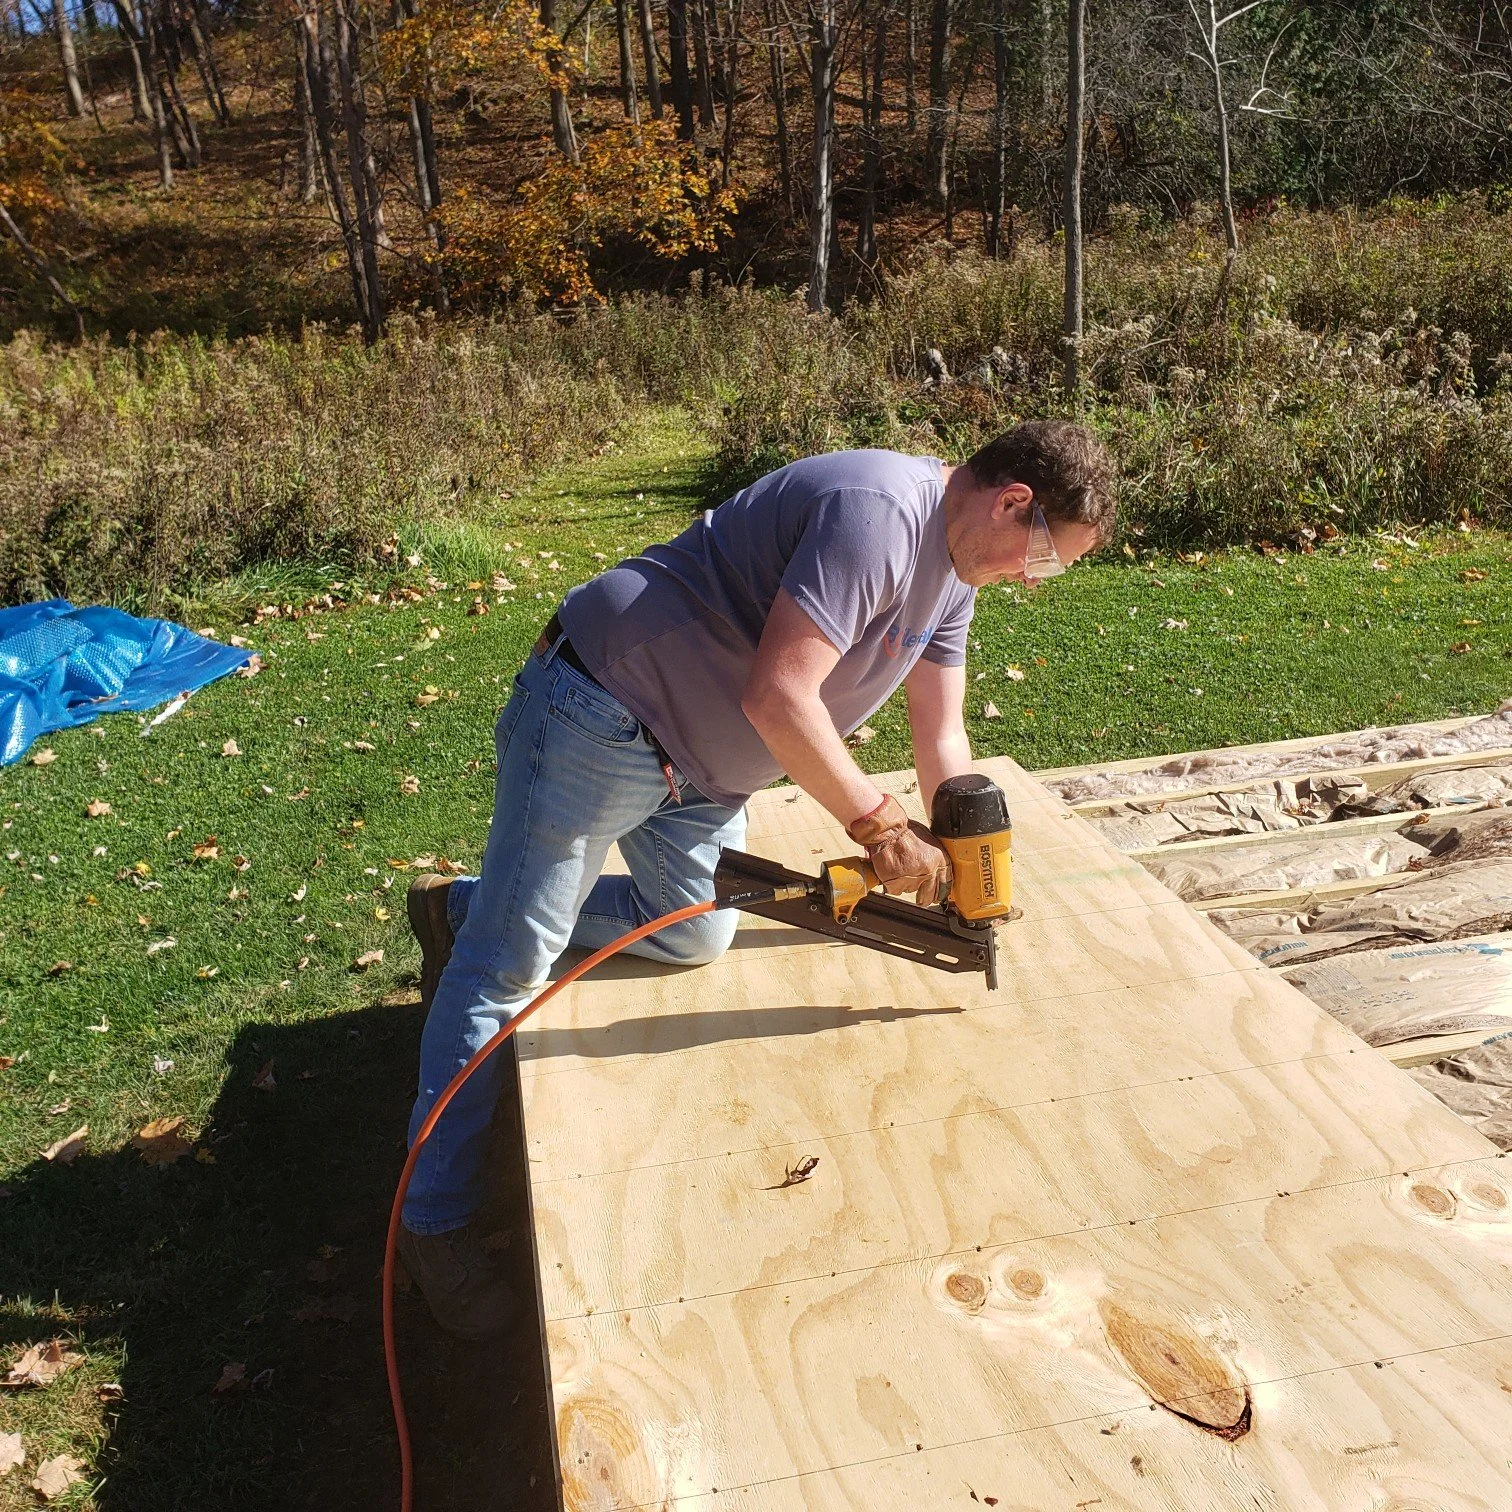
Building the Studio Floor: Framing, Insulating, and Installing the Base


Sarah and I framed up the floor with help from my nephew Noah, and we covered the surface with plywood. My neighbor, Gary, is an expert in excavation, so I counted on him to use his equipment to gently flip the entire deck over on the lawn. The plywood we had installed then became the bottom. He lifted the whole thing onto the piers. Next, I insulated between the floor joists.
Teamwork in Action: Framing Walls and Installing the Studio Roof


Sarah, our daughter Amanda, and Steven are all quick learners and are becoming good at building. Over a weekend, we covered floor joists with plywood and framed the walls.

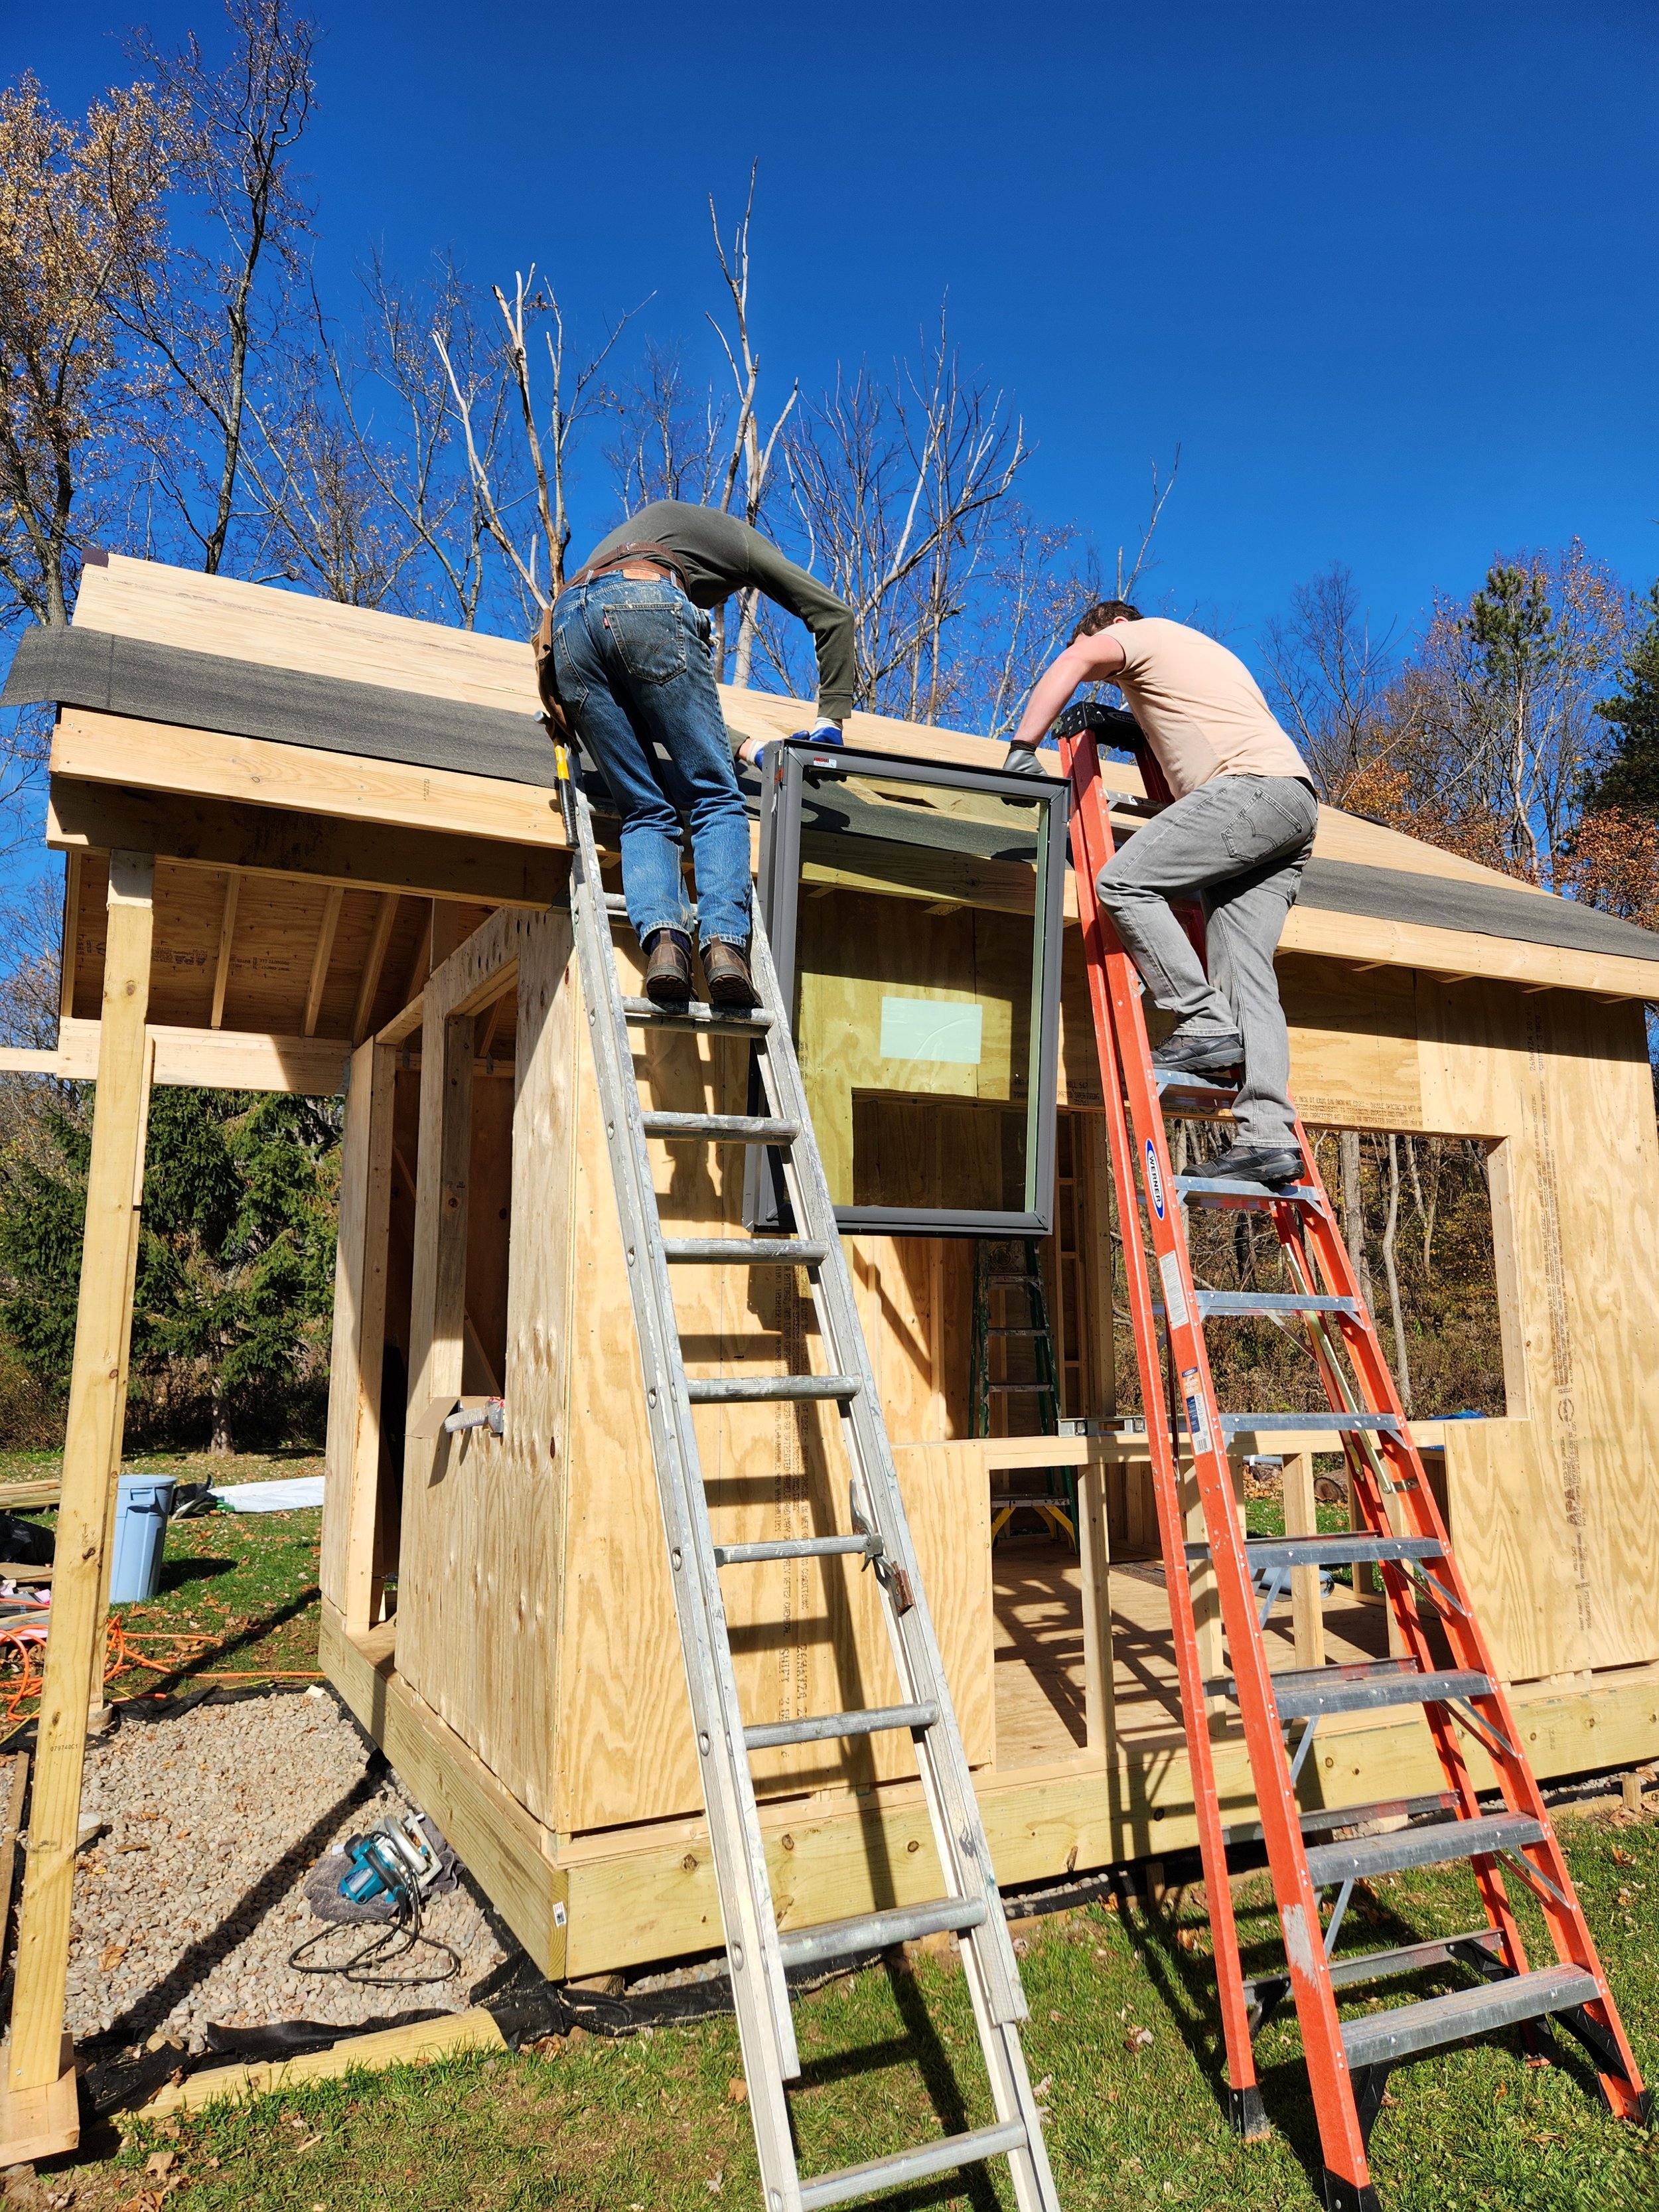


My friend Wade helped me with the roof. We spent the next few days cutting and installing roof rafters and covering them with plywood. Steve helped me carry the skylight up.
Making It Watertight: From Roof Shingling to Window Installation
Next, I spent a few days shingling the roof. Wade and Sarah helped speed up the process by handing up the shingles so I didn’t have to keep climbing up and down the ladder.


Wade and I installed the windows to reach another milestone. It felt good to have the studio watertight. Unfortunately, when unboxing one of the windows, I found a pane had gotten cracked while in storage. A new one is on order. It’s always got to be something!


It’s getting so exciting!
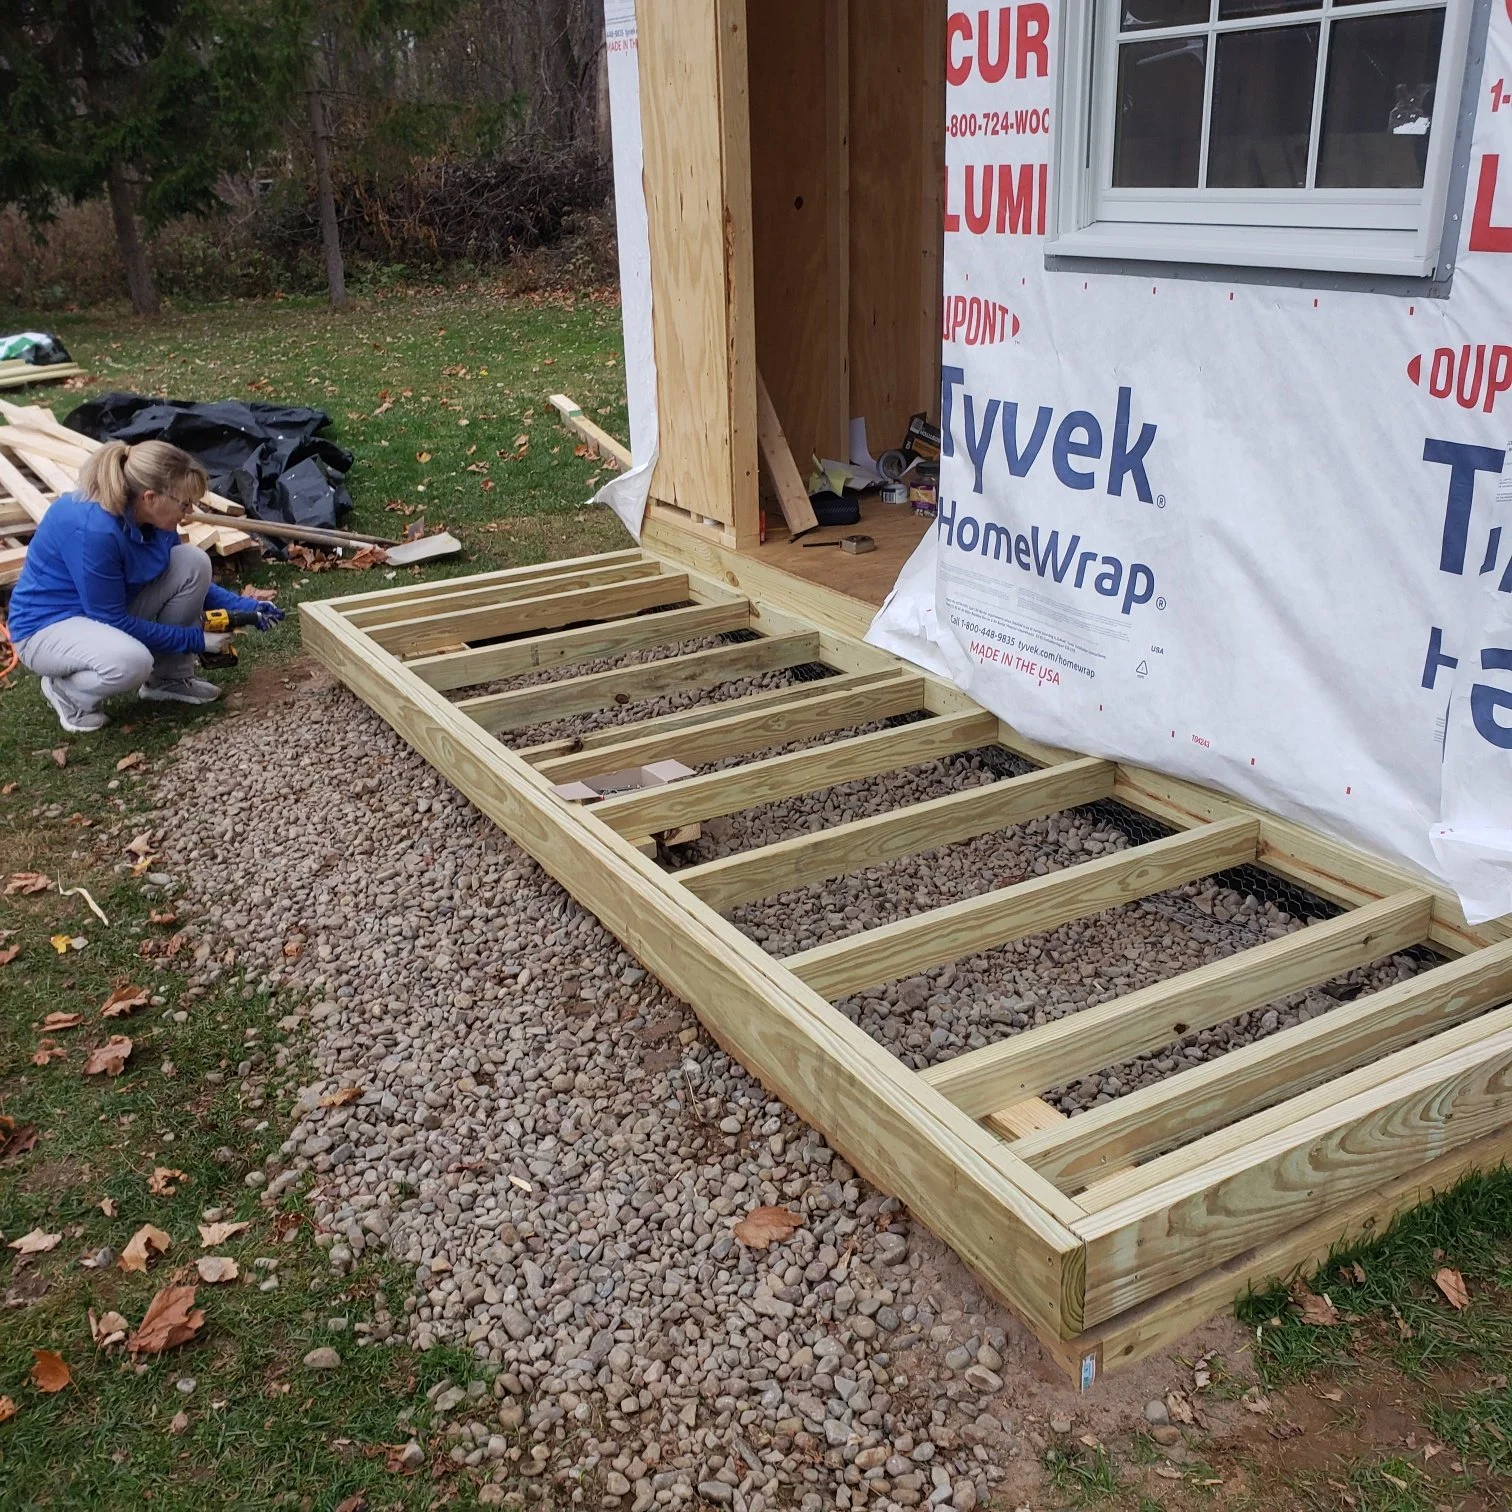
Adding Character: Building the Studio Porch and Planning Paintbrush Posts
Sarah and I built the porch floor that extends four feet from the front of the studio. We added temporary posts to support the porch roof. Sarah has a vision of the final posts as paintbrushes! I’m unsure how I’ll do that, but it’s sure to be a fun challenge.


Finishing Touches: From Local Pine to Clever Siding Solutions for the Studio Exterior
When the time came for the finished exterior, I made trim boards out of pine, which we harvested last winter. The trees had grown just a hundred feet from where the studio now stands. We installed the trim.


Next, we needed to use the leftover siding efficiently to ensure there was enough for the job. Sarah was a champ at calculating how she cut the pieces to get the most out of them. She made it work; thankfully, there was enough siding to cover the studio.


Restoring a 152-Year-Old Door: A Historic Welcome to the Art Studio
The wooden door, at 152 years old, needed work. I reglued the joints that had come apart. It has come back to life after stripping the old finish and applying a new one. It is now hung and will be a very welcoming entrance to the studio! Again, I will share the full story of this door in a blog.


The Studio is Ready for Winter and Future Creativity
The studio is now enclosed for the winter, with one exception. The gable roof forms a triangular opening above the door. I want to incorporate an artistic wall there to add pizzazz and interest. Sarah came up with an idea based on previous work I have created. I plan to make and install that over the winter.

We will complete the inside in the spring. Then, Sarah can begin creating art in what I hope will be a cozy and inspiring place!
Sign up for our email list to learn more about our art adventures.
Beautiful Art for Life Well Lived,
Moe and Sarah